How To Access Raspberry Pi From Windows: The Ultimate Guide For Beginners
Ever wondered how to access Raspberry Pi from Windows like a pro? Well, buckle up because we’re diving deep into the world of remote connections, troubleshooting tips, and step-by-step instructions that’ll make you feel like a tech wizard in no time. Whether you’re tinkering with your first Raspberry Pi project or need to streamline your workflow, this guide has got you covered.
Accessing your Raspberry Pi from a Windows PC might sound intimidating at first, but trust me, it’s easier than figuring out why your Wi-Fi keeps dropping. With the right tools and a bit of patience, you’ll be controlling your Pi from your Windows machine in no time. This isn’t just about convenience—it’s about unlocking the full potential of your Raspberry Pi setup.
In this guide, we’ll break down everything you need to know about accessing Raspberry Pi from Windows. From setting up SSH to using VNC, we’ll cover all the bases so you can focus on building cool projects instead of wrestling with connectivity issues. So grab a coffee, sit back, and let’s get started!
Read also:Exploring Legit Alternatives To Library Genesis Your Ultimate Guide
Why Access Raspberry Pi from Windows?
Before we jump into the nitty-gritty, let’s talk about why you’d even want to access your Raspberry Pi from a Windows machine. Sure, you could connect a keyboard, mouse, and monitor directly to your Pi, but where’s the fun in that? Accessing Raspberry Pi from Windows offers several advantages:
- Convenience: No need to clutter your workspace with extra peripherals.
- Flexibility: Work on your Pi from anywhere in your network.
- Efficiency: Streamline your workflow by keeping everything on one screen.
- Learning: Mastering remote access techniques is a valuable skill for any tech enthusiast.
Plus, let’s face it—working on a big, beautiful Windows monitor is way more comfortable than squinting at a tiny Pi screen. Now that we’ve established the "why," let’s move on to the "how."
Tools You’ll Need to Access Raspberry Pi from Windows
To successfully connect your Raspberry Pi to your Windows PC, you’ll need a few essential tools. Don’t worry; most of them are free and easy to set up. Here’s what you’ll need:
- Raspberry Pi: Obviously, you’ll need a Raspberry Pi running the latest version of Raspberry Pi OS.
- Windows PC: A Windows 10 or 11 machine with internet access.
- SSH Client: We recommend using PuTTY or the built-in Windows Terminal.
- VNC Viewer: For graphical access, download the official VNC Viewer app.
- Network Connection: Ensure both devices are connected to the same local network.
Once you’ve gathered these tools, you’re ready to roll. Let’s dive into the first method: accessing Raspberry Pi via SSH.
How to Access Raspberry Pi from Windows Using SSH
SSH, or Secure Shell, is one of the easiest and most secure ways to access your Raspberry Pi remotely. Here’s how you can set it up:
Step 1: Enable SSH on Your Raspberry Pi
First things first, you’ll need to enable SSH on your Raspberry Pi. Here’s how:
Read also:Elden Ring Sales By Platform Unveiling The Gaming Phenomenon
- Open the Raspberry Pi Configuration tool by typing
sudo raspi-configin the terminal. - Select Interfacing Options and navigate to SSH.
- Choose Enable and exit the configuration tool.
That’s it! SSH is now enabled on your Raspberry Pi.
Step 2: Find Your Raspberry Pi’s IP Address
To connect to your Pi via SSH, you’ll need its IP address. You can find this by typing ifconfig in the terminal or checking your router’s device list.
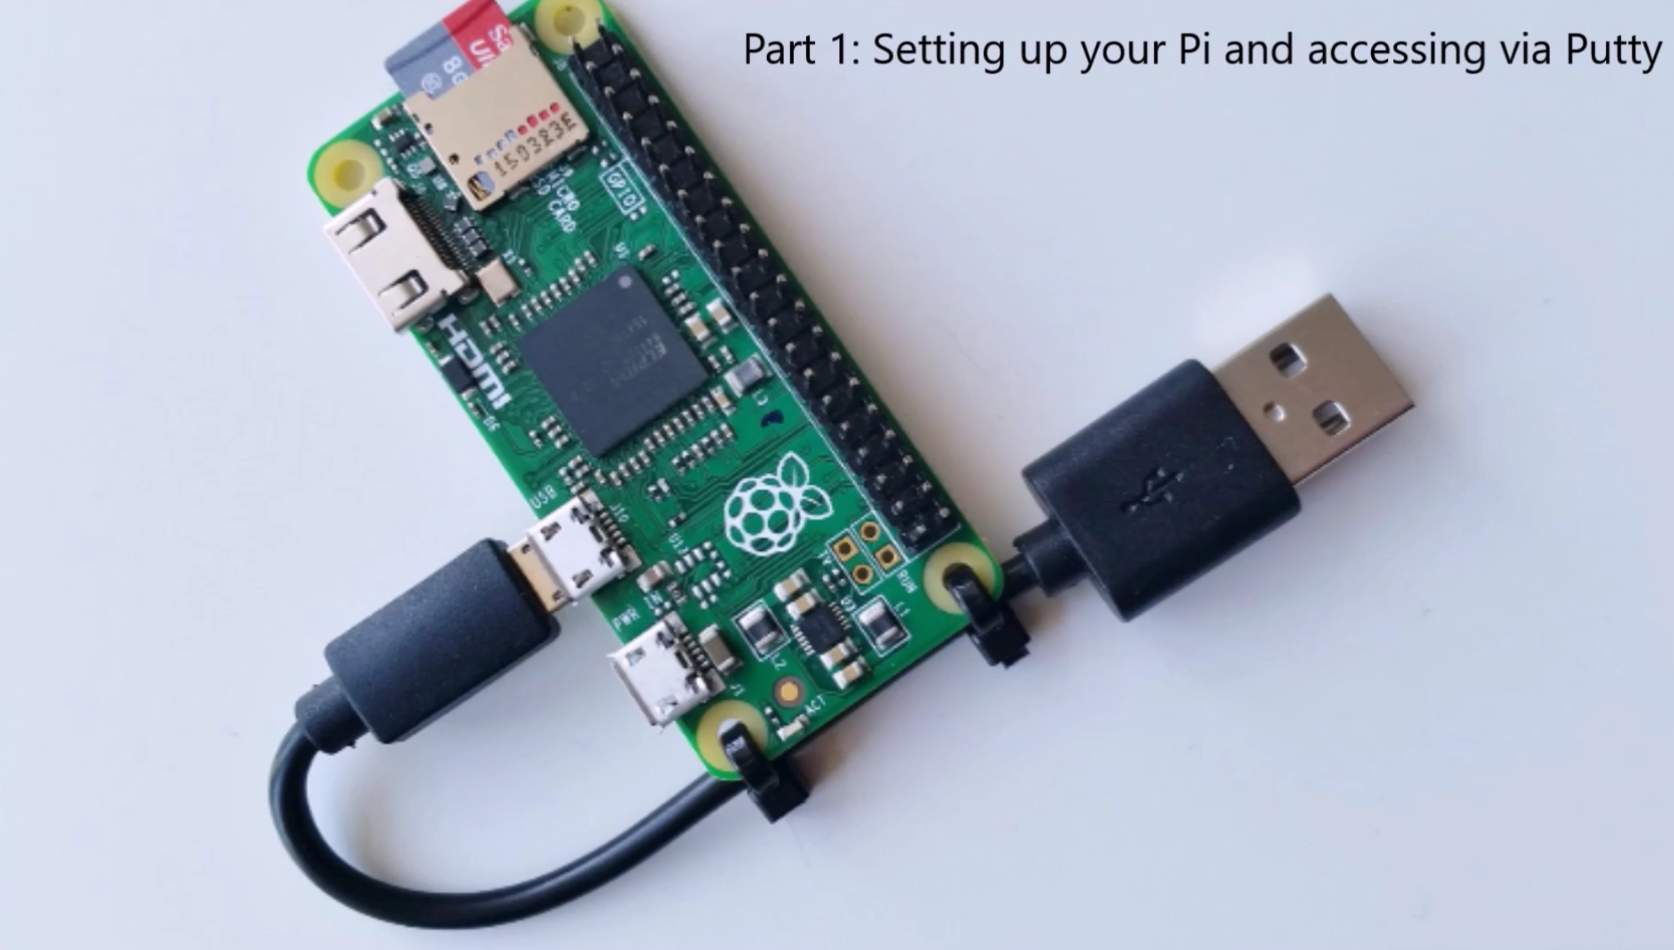
Step 3: Connect Using PuTTY
Now that SSH is enabled and you have your Pi’s IP address, it’s time to connect. Here’s how:
- Download and install PuTTY on your Windows PC.
- Open PuTTY and enter your Raspberry Pi’s IP address in the Host Name field.
- Set the Connection Type to SSH and click Open.
- Log in using your Raspberry Pi’s username (usually
pi) and password (default israspberry).
Boom! You’re now connected to your Raspberry Pi via SSH.
Using VNC to Access Raspberry Pi from Windows
If you prefer a graphical interface, VNC is the way to go. Here’s how to set it up:
Step 1: Install VNC on Your Raspberry Pi
Raspberry Pi OS comes with VNC pre-installed, but you’ll need to enable it:
- Open the Raspberry Pi Configuration tool (
sudo raspi-config) and navigate to Interfacing Options. - Select VNC and choose Enable.
- Reboot your Raspberry Pi to apply the changes.
Step 2: Download VNC Viewer on Your Windows PC
Head over to the official VNC website and download the VNC Viewer app for Windows.
Step 3: Connect to Your Raspberry Pi
Once VNC Viewer is installed, follow these steps:
- Open VNC Viewer and enter your Raspberry Pi’s IP address.
- Click Connect and log in using your Pi’s credentials.
Voilà! You’re now accessing your Raspberry Pi’s desktop environment from your Windows PC.
Troubleshooting Common Issues
Even the best-laid plans can hit a snag. Here are some common issues you might encounter when accessing Raspberry Pi from Windows, along with their solutions:
Problem 1: Can’t Connect via SSH
If you’re having trouble connecting via SSH, try these troubleshooting steps:
- Double-check your Raspberry Pi’s IP address.
- Ensure SSH is enabled on your Pi.
- Make sure both devices are on the same network.
Problem 2: VNC Connection Fails
Having issues with VNC? Here’s what you can do:
- Verify that VNC is enabled on your Raspberry Pi.
- Check your Windows firewall settings to ensure VNC isn’t blocked.
- Restart both your Raspberry Pi and your Windows PC.
Advanced Tips for Power Users
Once you’ve mastered the basics, it’s time to level up your skills. Here are a few advanced tips for accessing Raspberry Pi from Windows:
Tip 1: Use PowerShell for SSH
Did you know you can use PowerShell to connect to your Raspberry Pi via SSH? Here’s how:
- Open PowerShell on your Windows PC.
- Type
ssh pi@and hit Enter. - Log in using your Pi’s credentials.
PowerShell offers a more streamlined experience compared to third-party clients like PuTTY.
Tip 2: Automate Tasks with Scripts
Why waste time typing commands manually when you can automate everything with scripts? Use SSH to run scripts on your Raspberry Pi remotely, saving you time and effort.
Security Best Practices
With great power comes great responsibility. Here are some security tips to keep your Raspberry Pi safe when accessing it from Windows:
- Change the Default Password: Never stick with the default
raspberrypassword. Update it immediately. - Use Strong Authentication: Consider setting up SSH keys for added security.
- Firewall Protection: Configure your router’s firewall to block unauthorized access.
Security should always be a top priority, especially when working with remote connections.
Conclusion: Take Your Raspberry Pi Skills to the Next Level
And there you have it—a comprehensive guide on how to access Raspberry Pi from Windows. Whether you’re using SSH for quick commands or VNC for full graphical access, the possibilities are endless. By following the steps outlined in this guide, you’ll be able to streamline your workflow and unlock the full potential of your Raspberry Pi setup.
Now it’s your turn to take action. Try out the methods we’ve discussed, experiment with different tools, and don’t be afraid to ask questions in the comments below. Who knows—you might just discover a new passion for remote computing!
Table of Contents:
- Why Access Raspberry Pi from Windows?
- Tools You’ll Need
- How to Access Raspberry Pi from Windows Using SSH
- Using VNC to Access Raspberry Pi from Windows
- Troubleshooting Common Issues
- Advanced Tips for Power Users
- Security Best Practices
- Conclusion
So, what are you waiting for? Dive in, explore, and let us know how it goes. Happy tinkering!
Article Recommendations