Blackstone Griddle Seasoning Guide: The Ultimate Secret To A Perfectly Seared Meal
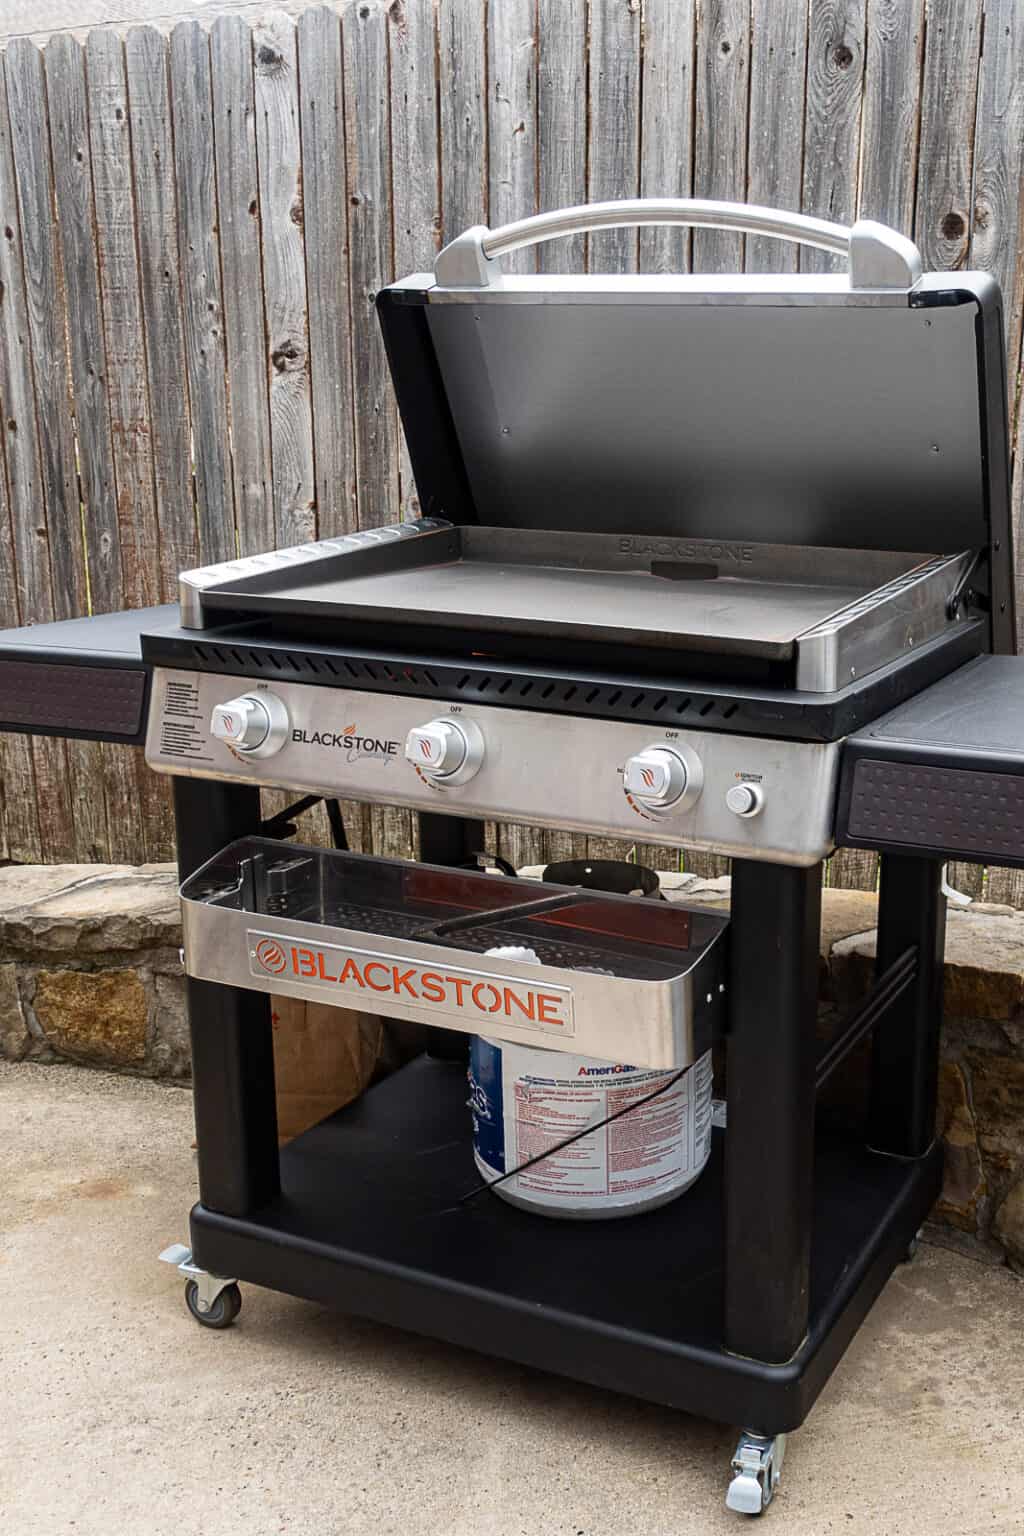
Alright folks, let’s talk about something that’s gonna change your game in the kitchen—Blackstone griddle seasoning. If you’ve ever wondered how to get that restaurant-quality sear on your food at home, this is the real deal. A well-seasoned Blackstone griddle can make all the difference in your cooking experience. Whether you're flipping pancakes, sizzling bacon, or grilling up some juicy steaks, seasoning is the key to unlocking flavor magic. So, buckle up because we’re about to dive deep into the world of griddle seasoning!
Now, I know what you're thinking. "Do I really need to season my griddle?" The answer is a big fat yes! Just like how a good pair of shoes needs breaking in, your Blackstone griddle needs some TLC to perform at its best. Seasoning not only enhances the flavor of your food but also protects the surface from rust and makes cleaning a breeze. Trust me, once you get the hang of it, you'll be unstoppable in the kitchen.
So, whether you're a seasoned pro or a newbie just starting out with your Blackstone griddle, this guide is here to help you every step of the way. Let’s make sure your griddle is in tip-top shape and ready to cook up a storm. Without further ado, let’s get started!
Read also:Dennis Quaid And Meg Ryan The Dynamic Duo That Made Hollywood Hearts Flutter
Table of Contents
- Why Season Your Blackstone Griddle?
- Prep Work: Getting Ready for Seasoning
- Step-by-Step Seasoning Guide
- Best Oils for Blackstone Griddle Seasoning
- Common Mistakes to Avoid
- Maintenance Tips for Long-Lasting Results
- Cleaning Routine After Cooking
- Troubleshooting Seasoning Issues
- Frequently Asked Questions
- Conclusion: Your Griddle, Your Kitchen Hero
Why Season Your Blackstone Griddle?
Let’s face it, nobody wants to deal with a sticky griddle or food that sticks to the surface like glue. That’s where seasoning comes in. Seasoning your Blackstone griddle creates a non-stick surface that makes cooking a breeze. It’s like giving your griddle a protective coat that keeps it looking and performing its best.
Besides preventing food from sticking, seasoning also enhances the flavor of your meals. The more you cook and season, the better your griddle gets at caramelizing those delicious flavors. Plus, a well-seasoned griddle is less prone to rust, which means it’ll last you a lifetime if you take care of it properly.
Benefits of a Well-Seasoned Griddle
- Non-stick surface for easy cooking
- Enhanced flavor in every meal
- Protection against rust and corrosion
- Easier cleaning process
Prep Work: Getting Ready for Seasoning
Before you dive into the seasoning process, there’s a bit of prep work to do. First things first, you’ll need to clean your griddle thoroughly. This ensures that any debris or residue from previous cooking sessions is removed, giving you a clean slate to work with.
Here’s what you’ll need:
- A stiff brush or scraper
- Warm soapy water
- A clean cloth or paper towels
Start by scraping off any leftover food particles from the griddle surface. Then, wash it with warm soapy water and dry it completely. This step is crucial because any moisture left on the griddle can lead to rust during the seasoning process.
Pro Tip:
Make sure your griddle is completely dry before proceeding. Even a tiny bit of moisture can ruin your seasoning efforts.
Read also:Where Is John Waite From Discover The Roots Of This Iconic Music Legend
Step-by-Step Seasoning Guide
Alright, now that your griddle is clean and dry, it’s time to get down to business. Follow these simple steps to achieve the perfect seasoning on your Blackstone griddle:
Step 1: Apply Oil
Using a lint-free cloth or paper towel, apply a thin layer of oil to the entire surface of the griddle. Make sure to cover every inch, including the edges and corners. Don’t go overboard with the oil; a thin layer is all you need.
Step 2: Heat It Up
Turn on your griddle and let it heat up for about 15-20 minutes. This will help the oil penetrate the surface and create that protective layer. If you’re using a stovetop griddle, preheat it on medium-high heat.
Step 3: Wipe Off Excess Oil
Once the griddle is heated, turn it off and let it cool down for a few minutes. Then, use a clean cloth to wipe off any excess oil. This prevents the surface from becoming sticky or gummy.
Step 4: Repeat the Process
For best results, repeat the oiling and heating process 3-4 times. Each layer builds on the previous one, creating a durable and non-stick surface.
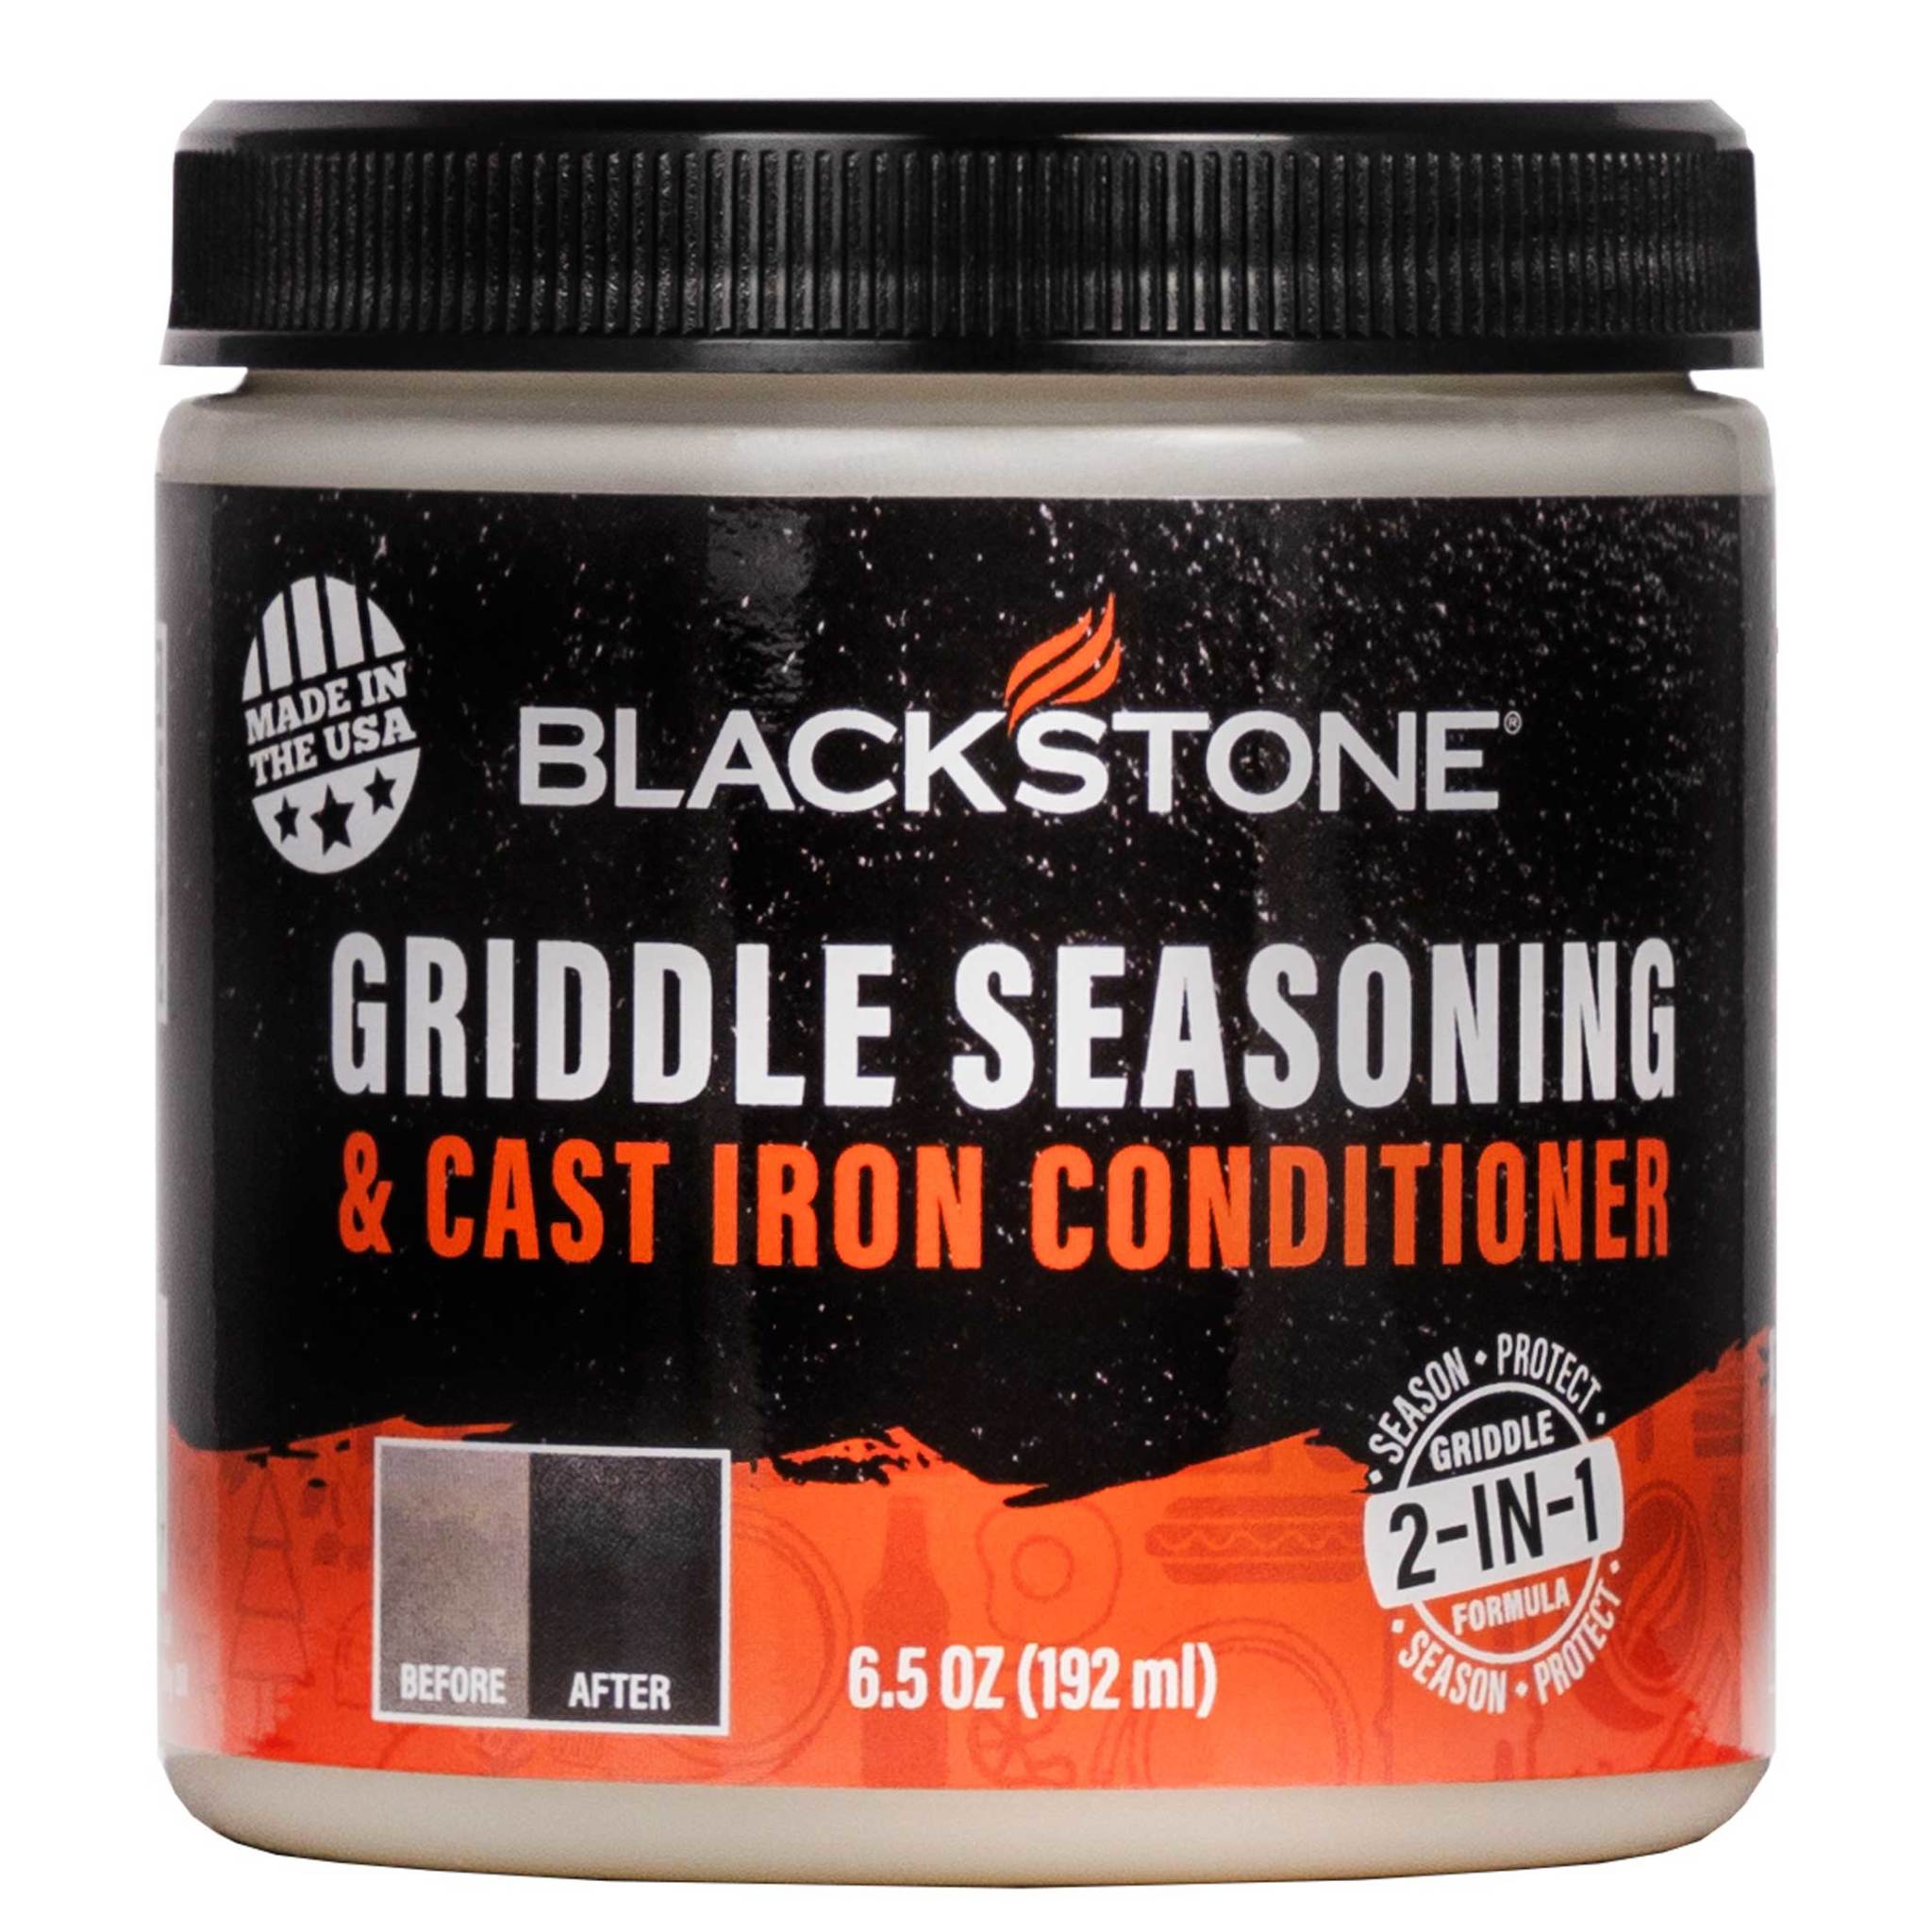
Best Oils for Blackstone Griddle Seasoning
Not all oils are created equal when it comes to seasoning your griddle. You want to choose an oil with a high smoke point that can withstand high temperatures without breaking down. Here are some of the best oils to use:
- Flaxseed Oil: Known for its excellent seasoning properties, flaxseed oil creates a hard and durable surface.
- Canola Oil: Affordable and readily available, canola oil is a great option for seasoning.
- Vegetable Oil: Another budget-friendly choice that works well for seasoning.
- Griddle Oil: Specialized oils designed specifically for griddles can provide optimal results.
Avoid using olive oil or butter for seasoning, as they have low smoke points and can burn easily.
Common Mistakes to Avoid
Even the best of us can make mistakes when it comes to seasoning. Here are a few common pitfalls to watch out for:
- Using too much oil: This can lead to a sticky surface that attracts dirt and grime.
- Not cleaning the griddle properly: Residue from previous cooking sessions can interfere with the seasoning process.
- Skipping the heating step: Heating is essential for the oil to bond with the griddle surface.
- Not repeating the process: Multiple layers are key to achieving a long-lasting seasoning.
By avoiding these mistakes, you’ll ensure a smooth and effective seasoning process.
Maintenance Tips for Long-Lasting Results
Seasoning your griddle is just the beginning. To keep it in top condition, regular maintenance is key. Here are some tips to help you maintain your Blackstone griddle:
- After each use, scrape off any leftover food particles and wipe down the surface with a clean cloth.
- Occasionally reapply a thin layer of oil to keep the surface protected.
- Store your griddle in a dry place to prevent rust.
- Consider using a griddle cover for added protection.
With a little care and attention, your griddle will remain a reliable cooking companion for years to come.
Pro Tip:
After cooking, let your griddle cool down before cleaning. This prevents any warping or damage to the surface.
Cleaning Routine After Cooking
Cleaning your griddle after each use is crucial for maintaining its performance. Here’s a quick cleaning routine to follow:
- Scrape off any food residue using a scraper or stiff brush.
- Wipe down the surface with a damp cloth or paper towel.
- Dry the griddle thoroughly to prevent rust.
- Apply a light coat of oil to the surface before storing.
This simple routine will keep your griddle in pristine condition and ready for your next cooking adventure.
Troubleshooting Seasoning Issues
Even with the best intentions, things can sometimes go wrong during the seasoning process. Here’s how to troubleshoot common issues:
- Sticky Surface: If your griddle feels sticky, it might be due to excess oil. Wipe it down with a clean cloth and re-season using less oil.
- Uneven Seasoning: Make sure to apply oil evenly across the entire surface. Repeat the seasoning process if necessary.
- Rust Spots: Use a wire brush to remove any rust and re-season the affected area.
Don’t worry if you encounter any of these issues. With a little patience and persistence, you can get your griddle back in shape.
Frequently Asked Questions
1. How often should I season my Blackstone griddle?
It’s a good idea to re-season your griddle every few months or after heavy use. This ensures that the surface remains protected and non-stick.
2. Can I use olive oil for seasoning?
While olive oil can be used in a pinch, it’s not the best choice due to its low smoke point. Opt for oils like flaxseed or canola for better results.
3. What should I do if food sticks to my griddle?
If food is sticking, it might be time to re-season your griddle. Make sure to follow the proper seasoning steps for the best results.
Conclusion: Your Griddle, Your Kitchen Hero
Well, there you have it, folks—a comprehensive guide to Blackstone griddle seasoning. By following these steps and tips, you’ll be well on your way to mastering the art of seasoning and cooking like a pro. Remember, a well-seasoned griddle not only enhances the flavor of your food but also makes cooking and cleaning a whole lot easier.
So, what are you waiting for? Grab your griddle, some oil, and get to work. Don’t forget to share your seasoning success stories in the comments below. And if you found this guide helpful, be sure to check out our other articles for more cooking tips and tricks. Happy cooking, everyone!
Article Recommendations