Clear To White Ombre Nails: The Trend That’s Taking The Nail Art World By Storm
Hey there, nail art enthusiasts! If you're scrolling through Instagram or TikTok, chances are you've stumbled upon clear to white ombre nails. This design is all the rage right now, and for good reason. It’s sleek, elegant, and super versatile. Whether you’re going for a minimalistic vibe or want to add a touch of sophistication to your look, this trend has got you covered. So, let’s dive into why clear to white ombre nails are stealing the spotlight and how you can rock them too.
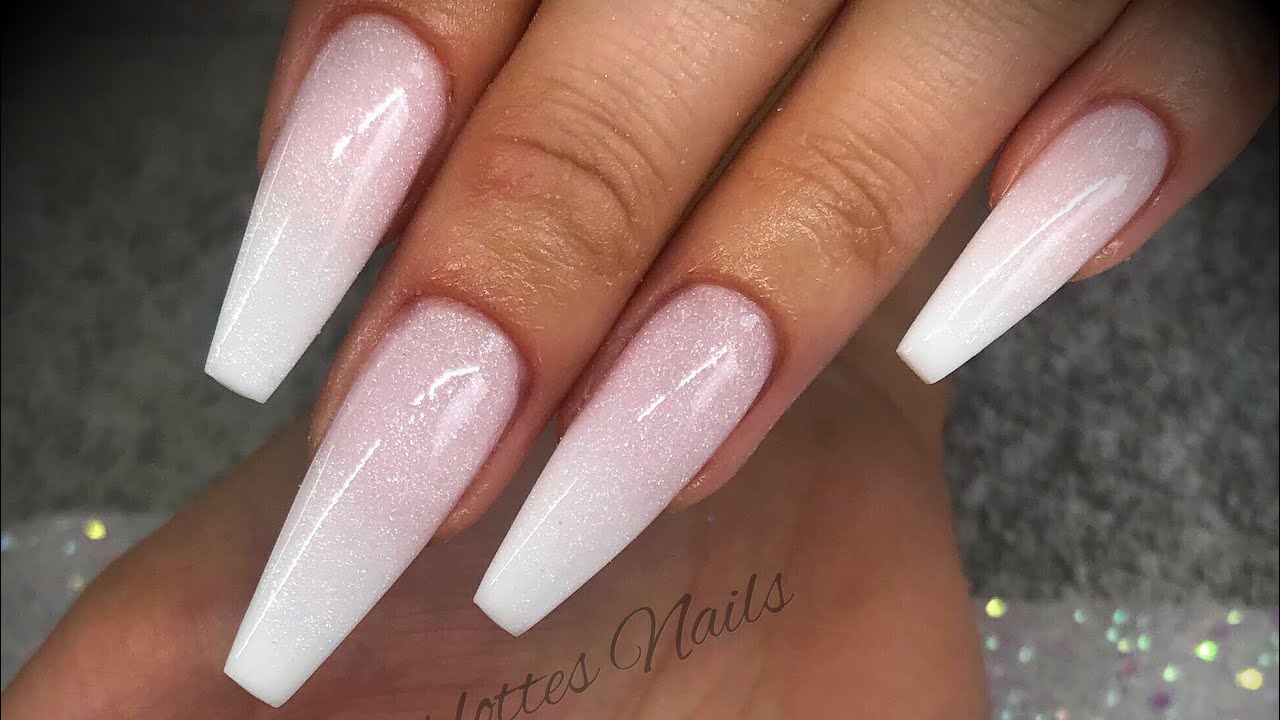
Now, let’s be real—nail art trends come and go, but this one is here to stay. The clear to white ombre nail design is all about creating a gradient effect that transitions seamlessly from transparent to pure white. It’s like painting a sunset on your fingertips, except it’s way more chic and polished. This trend is perfect for those who love understated beauty but still want to make a statement.
But wait—why should you care about clear to white ombre nails? Well, aside from being absolutely stunning, they’re also incredibly easy to customize. Whether you’re attending a formal event or just chilling at home, this design can adapt to any occasion. So, buckle up because we’re about to break down everything you need to know about this must-try nail trend.
Read also:Exploring Legit Alternatives To Library Genesis Your Ultimate Guide
What Are Clear to White Ombre Nails?
Let’s start with the basics. Clear to white ombre nails are essentially a nail design where the color gradually transitions from clear (or nude) at the base to a crisp white at the tips. The result is a soft, gradient effect that looks absolutely stunning. Think of it as a modern twist on the classic French manicure, but way more sophisticated.
This trend is all about simplicity and elegance. Unlike bold or flashy designs, clear to white ombre nails are perfect for those who prefer a more understated look. Plus, the gradient effect gives the illusion of longer, more defined nails without being overpowering.
Why Are They So Popular?
Here’s the deal—clear to white ombre nails are having a major moment because they’re versatile, chic, and timeless. They work for any skin tone, nail shape, and length, making them a go-to choice for both nail pros and beginners. Plus, the gradient effect adds depth and dimension to your nails, giving them a professional finish that’s hard to resist.
Another reason why this trend is so popular? It’s incredibly low-maintenance. Unlike other nail designs that require constant touch-ups, clear to white ombre nails can last for weeks without losing their charm. And let’s not forget—they’re perfect for those who want to experiment with nail art without going overboard.
How to Achieve Clear to White Ombre Nails
Ready to try this trend for yourself? Here’s a step-by-step guide to achieving clear to white ombre nails at home:
Step 1: Prep Your Nails
Read also:Will Smith And Jada Pinkett Relationship The Untold Story Of Love Trials And Triumphs
Start by cleaning your nails thoroughly to remove any dirt or oil. Then, apply a base coat to protect your natural nails and ensure a smooth surface for painting.
Step 2: Choose Your Colors
You’ll need two main colors for this design—a clear or nude polish for the base and a crisp white polish for the gradient. If you’re feeling adventurous, you can also experiment with different shades of white for a more customized look.
Step 3: Create the Gradient
Using a sponge or brush, gently blend the clear and white polishes together to create a seamless transition. Start with the clear polish at the base and gradually add more white as you move toward the tips. Don’t worry if it’s not perfect—imperfections add character to the design!
Step 4: Seal the Deal
Finish off your design with a topcoat to lock in the gradient effect and give your nails a glossy finish. And voilà—you’ve got yourself a set of stunning clear to white ombre nails!
Top Tips for Perfecting the Look
Want to take your clear to white ombre nails to the next level? Here are a few tips to help you perfect the look:
- Use High-Quality Products: Invest in good-quality polishes and tools to ensure a flawless finish.
- Practice Makes Perfect: If you’re new to nail art, don’t be afraid to practice before applying the design to your actual nails.
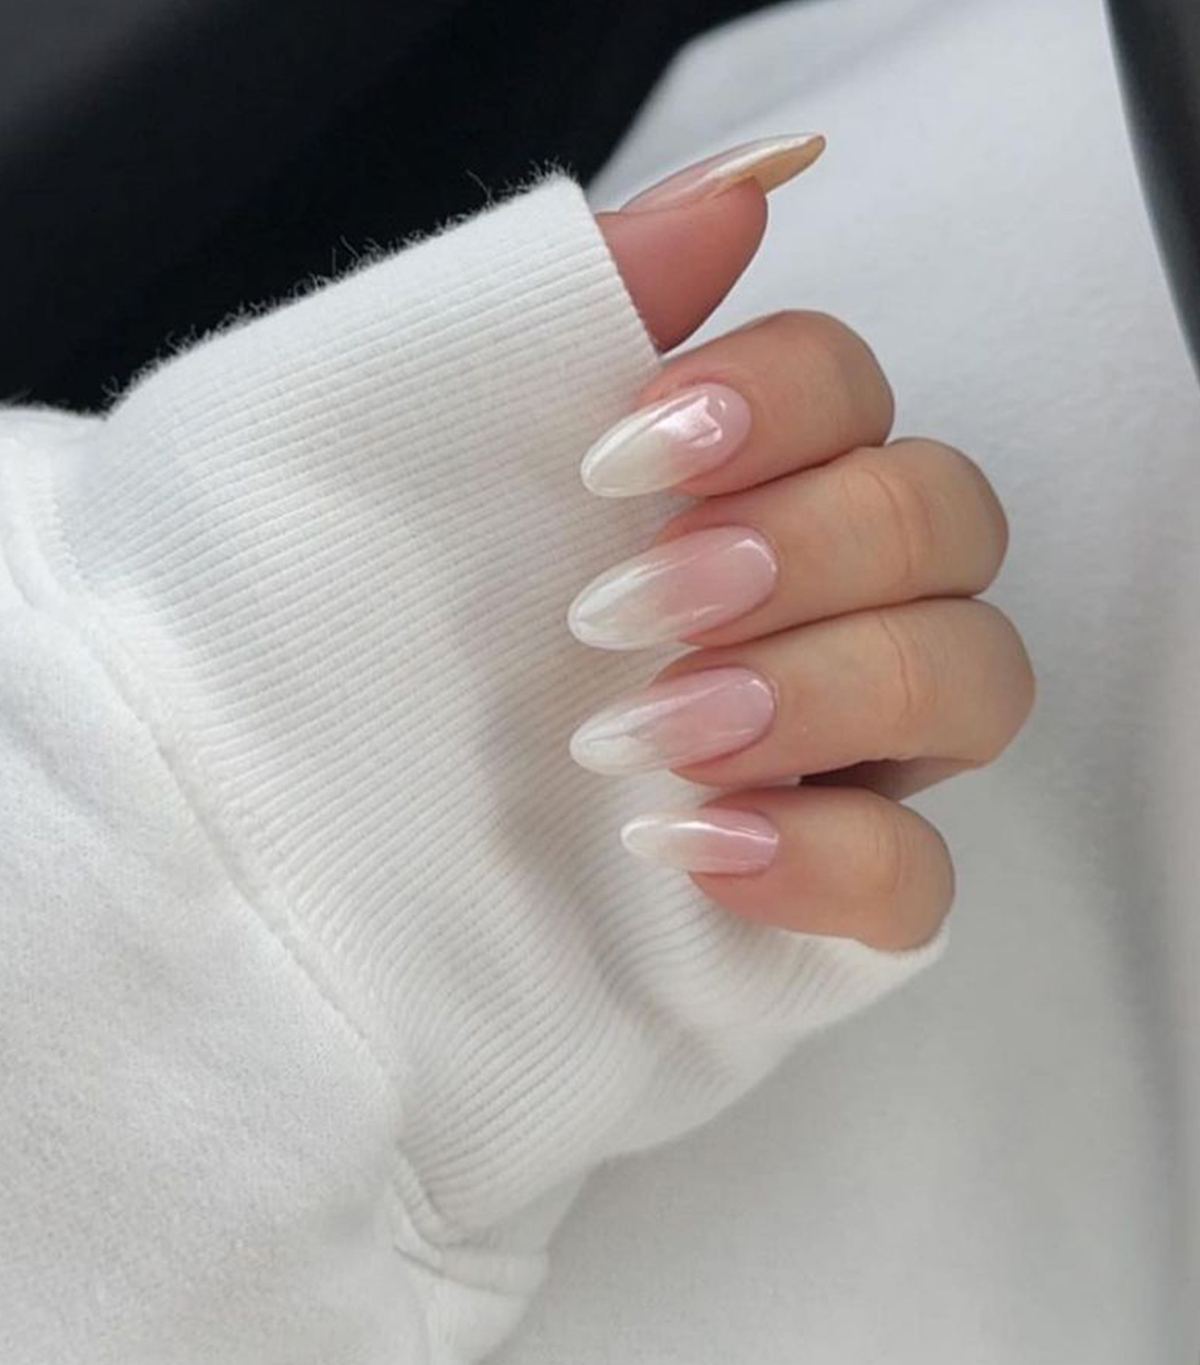
- Experiment with Shapes: Try different nail shapes, such as almond, square, or oval, to see which one complements the design best.
- Add a Pop of Color: If you want to spice things up, consider adding a pop of color or glitter to one or two nails for a fun twist.
Popular Variations of Clear to White Ombre Nails
While the classic clear to white ombre design is undeniably stunning, there are plenty of ways to put your own spin on this trend. Here are a few popular variations to try:
1. Pastel Gradient
Add a touch of color to your clear to white ombre nails by incorporating soft pastel shades like pink, lavender, or mint green. This variation is perfect for spring and summer.
2. Glitter Accents
For a bit of sparkle, add a layer of glitter polish to the white tips of your nails. It’s a great way to elevate the design while keeping it understated.
3. Matte Finish
If you’re not a fan of glossy nails, opt for a matte finish instead. This gives the design a more modern and edgy look.
4. Negative Space
Create a negative space effect by leaving parts of the nail unpainted. This adds an artistic touch to the design and makes it stand out even more.
Where to Get Clear to White Ombre Nails Done
If you’re not confident about doing your own nails, don’t worry—there are plenty of professional nail salons that offer clear to white ombre designs. When choosing a salon, make sure to check reviews and look at their portfolio to ensure they can deliver the results you’re looking for.
Alternatively, you can also try at-home nail kits that come with everything you need to create the perfect clear to white ombre nails. These kits are great for beginners and offer a more affordable option compared to salon visits.
Cost Considerations
Now, let’s talk about the cost. If you’re getting your nails done at a salon, expect to pay anywhere from $30 to $60, depending on the location and salon. However, if you’re doing it yourself, you can save a significant amount of money by investing in quality nail polish and tools.
Pro tip: Look for sales and discounts on nail products to get the best bang for your buck. And don’t forget to factor in the cost of nail care products like cuticle oil and remover to maintain your manicure.
Benefits of Clear to White Ombre Nails
Aside from being absolutely gorgeous, clear to white ombre nails come with several benefits:
- Low-Maintenance: As mentioned earlier, this design is incredibly low-maintenance and can last for weeks without chipping.
- Versatile: Whether you’re dressing up or down, clear to white ombre nails can adapt to any occasion.
- Timeless: Unlike other trendy designs that may go out of style, this one is here to stay.
- Confidence Booster: Who doesn’t feel more confident with a fresh manicure? This design is sure to make you feel like a million bucks.
Common Mistakes to Avoid
While clear to white ombre nails are relatively easy to achieve, there are a few common mistakes to watch out for:
- Uneven Gradient: Make sure to blend the colors evenly to avoid any harsh lines or patches.
- Too Much Product: Use just enough polish to create the gradient effect—too much can lead to smudging and streaks.
- Skipping the Topcoat: Always finish with a topcoat to protect your design and enhance its longevity.
Conclusion
And there you have it—everything you need to know about clear to white ombre nails. This trend is the perfect blend of simplicity and elegance, making it a must-try for anyone who loves nail art. Whether you’re doing it yourself or visiting a salon, this design is sure to leave you feeling confident and stylish.
So, what are you waiting for? Grab your nail polish and start creating your own clear to white ombre nails today! And don’t forget to share your masterpiece with us in the comments below. Who knows—you might just inspire someone else to try this trend too!
Table of Contents
- Clear to White Ombre Nails: The Trend That’s Taking the Nail Art World by Storm
- What Are Clear to White Ombre Nails?
- Why Are They So Popular?
- How to Achieve Clear to White Ombre Nails
- Top Tips for Perfecting the Look
- Popular Variations of Clear to White Ombre Nails
- Where to Get Clear to White Ombre Nails Done
- Cost Considerations
- Benefits of Clear to White Ombre Nails
- Common Mistakes to Avoid
Article Recommendations