Mastering SSH Raspberry Pi Remotely: The Ultimate Guide For Remote Access
Listen up, folks. If you're diving into the world of Raspberry Pi and want to level up your game, learning how to SSH Raspberry Pi remotely is absolutely crucial. Picture this: you're chilling at your favorite coffee shop, sipping on that perfect latte, but you suddenly need to tweak something on your Pi back home. With SSH, it's like having a magic key to unlock your Pi's power from anywhere in the world. Cool, right? So, let's dive in and make sure you're not left in the dark when it comes to remote access.
Now, I know what you're thinking. SSH sounds like one of those tech terms that only the pros understand. But don't sweat it. We're about to break it down step by step, making it so simple even your grandma could SSH Raspberry Pi remotely if she wanted to. This guide is packed with tips, tricks, and all the info you need to get up and running in no time.
Before we jump into the nitty-gritty, let's set the stage. SSH, or Secure Shell, is your golden ticket to securely accessing your Raspberry Pi from any location. Whether you're troubleshooting, managing files, or just showing off your tech skills, mastering SSH Raspberry Pi remotely will change the game for you. So grab your favorite snack, get comfy, and let's get started!
Read also:How Did Maurice Tillet Die The Intriguing Story Behind The Wrestling Giant
Understanding SSH Raspberry Pi Remotely: The Basics
First things first, let's talk basics. SSH is like a secret tunnel that lets you connect to your Raspberry Pi from afar. Imagine it as a super-secure phone line where you can send commands, transfer files, and control your Pi without needing to be physically present. Pretty neat, huh?
Here's the deal: SSH uses encryption to keep everything safe and secure. This means that even if someone tries to snoop on your connection, they won't be able to make sense of anything. It's like speaking in a secret code that only you and your Pi understand.
Now, let's break it down even further:
- SSH Client: This is the software you'll use to connect to your Pi. Think of it as the phone you'll use to call your Pi.
- SSH Server: Your Raspberry Pi acts as the server, waiting for your call and ready to obey your commands.
- IP Address: This is your Pi's unique address on the network. It's like its home phone number, so you can reach it wherever you are.
With these basics under your belt, you're ready to move on to the next level. Let's go!
Setting Up SSH on Your Raspberry Pi
Alright, let's get our hands dirty. The first step to SSH Raspberry Pi remotely is setting up SSH on your Pi itself. Don't worry, it's easier than you think. Here's how you do it:
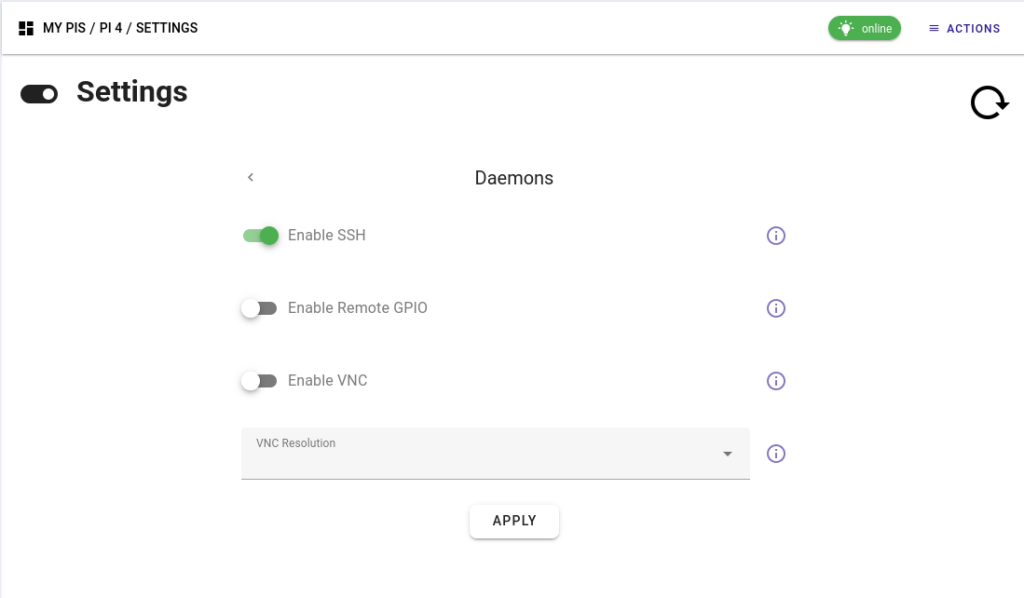
Enabling SSH on Raspberry Pi
By default, SSH might not be enabled on your Pi, so you'll need to turn it on. Follow these steps:
Read also:Axl Rose Nowadays The Rock Legends Current Life And Times
- Boot up your Raspberry Pi and log in.
- Open the terminal. It's like the command center for your Pi.
- Type in
sudo raspi-configand hit enter. This opens up the Raspberry Pi configuration tool. - Use the arrow keys to navigate to
Interfacing Optionsand hit enter. - Select
SSHand enable it. - That's it! SSH is now ready to roll on your Pi.
See? Told you it was easy. Now let's move on to the next step.
Finding Your Raspberry Pi's IP Address
Your Pi's IP address is like its home address on the internet. Without it, you won't be able to SSH Raspberry Pi remotely. Here's how you find it:
Using the Terminal to Find Your IP
There are a couple of ways to find your Pi's IP address. The simplest one is using the terminal:
- Open the terminal on your Pi.
- Type in
hostname -Iand hit enter. - You'll see a series of numbers like
192.168.1.100. That's your Pi's IP address.
Simple, right? Now that you've got the address, let's talk about connecting from afar.
Connecting to Your Raspberry Pi Remotely
Now comes the fun part—connecting to your Pi from another device. Whether you're using a laptop, desktop, or even your phone, the process is pretty straightforward.
Using PuTTY on Windows
If you're on a Windows machine, PuTTY is your best friend. Here's how you use it:
- Download and install PuTTY from the official website.
- Open PuTTY and enter your Pi's IP address in the
Host Namefield. - Select
SSHas the connection type. - Hit
Openand voila! You're connected.
It's like making a phone call, but instead of hearing someone's voice, you're sending commands to your Pi.
Securing Your SSH Connection
Security is key when it comes to SSH Raspberry Pi remotely. You don't want some random hacker gaining access to your Pi, do you? Here are a few tips to keep your connection safe:
- Change the Default Pi Password: The default password for Raspberry Pi is
raspberry. Change it to something more secure immediately. - Use Key-Based Authentication: Instead of using passwords, set up SSH keys for added security.
- Disable Root Login: Root access gives full control, so it's best to disable it for SSH connections.
These steps might sound technical, but trust me, they're worth it. Security is never something you want to skimp on.
Troubleshooting Common SSH Issues
Even the best of us run into issues sometimes. Here are a few common problems you might face when trying to SSH Raspberry Pi remotely and how to fix them:
Connection Refused
If you're getting a "Connection Refused" error, it usually means SSH isn't enabled or your IP address is wrong. Double-check both and try again.
Permission Denied
This often happens if your password is incorrect or key-based authentication isn't set up properly. Make sure everything is configured correctly.
Don't let these issues discourage you. With a little troubleshooting, you'll be back in business in no time.
Advanced SSH Techniques
Once you've got the basics down, it's time to level up your SSH game. Here are a few advanced techniques to try:
SSH Tunneling
SSH tunneling lets you securely access other services through your SSH connection. It's like building a hidden tunnel within a tunnel. Useful for things like accessing a database or web server securely.
Port Forwarding
Port forwarding allows you to direct traffic from one port to another. This can be super handy if you're running a web server or other service on your Pi.
These techniques might sound complicated, but with a bit of practice, they'll become second nature.
SSH Raspberry Pi Remotely: Tips and Tricks
Here are a few extra tips to make your SSH experience smoother:
- Use a Static IP Address: This ensures your Pi's IP address doesn't change, making it easier to connect.
- Bookmark Your SSH Command: Save time by bookmarking the command you use to connect.
- Regularly Update Your Pi: Keep your Pi's software up to date to avoid security vulnerabilities.
These tips might seem small, but they can make a big difference in your overall experience.
Real-World Applications of SSH Raspberry Pi Remotely
So, why bother learning how to SSH Raspberry Pi remotely? Here are a few real-world applications:
- Remote Server Management: Use your Pi as a mini-server and manage it from anywhere.
- Home Automation: Control smart home devices through your Pi.
- Data Backup: Set up automated backups for your important files.
These are just a few examples of what you can achieve with SSH. The possibilities are endless!
Conclusion
And there you have it, folks. A comprehensive guide to SSH Raspberry Pi remotely. From the basics to advanced techniques, you're now equipped with all the knowledge you need to take control of your Pi from anywhere in the world.
So, what are you waiting for? Go ahead and give it a try. And remember, if you have any questions or need further clarification, drop a comment below. Sharing is caring, so don't forget to share this guide with your fellow Pi enthusiasts. Happy SSH-ing!
Table of Contents
- Understanding SSH Raspberry Pi Remotely: The Basics
- Setting Up SSH on Your Raspberry Pi
- Finding Your Raspberry Pi's IP Address
- Connecting to Your Raspberry Pi Remotely
- Securing Your SSH Connection
- Troubleshooting Common SSH Issues
- Advanced SSH Techniques
- SSH Raspberry Pi Remotely: Tips and Tricks
- Real-World Applications of SSH Raspberry Pi Remotely
- Conclusion
Article Recommendations